
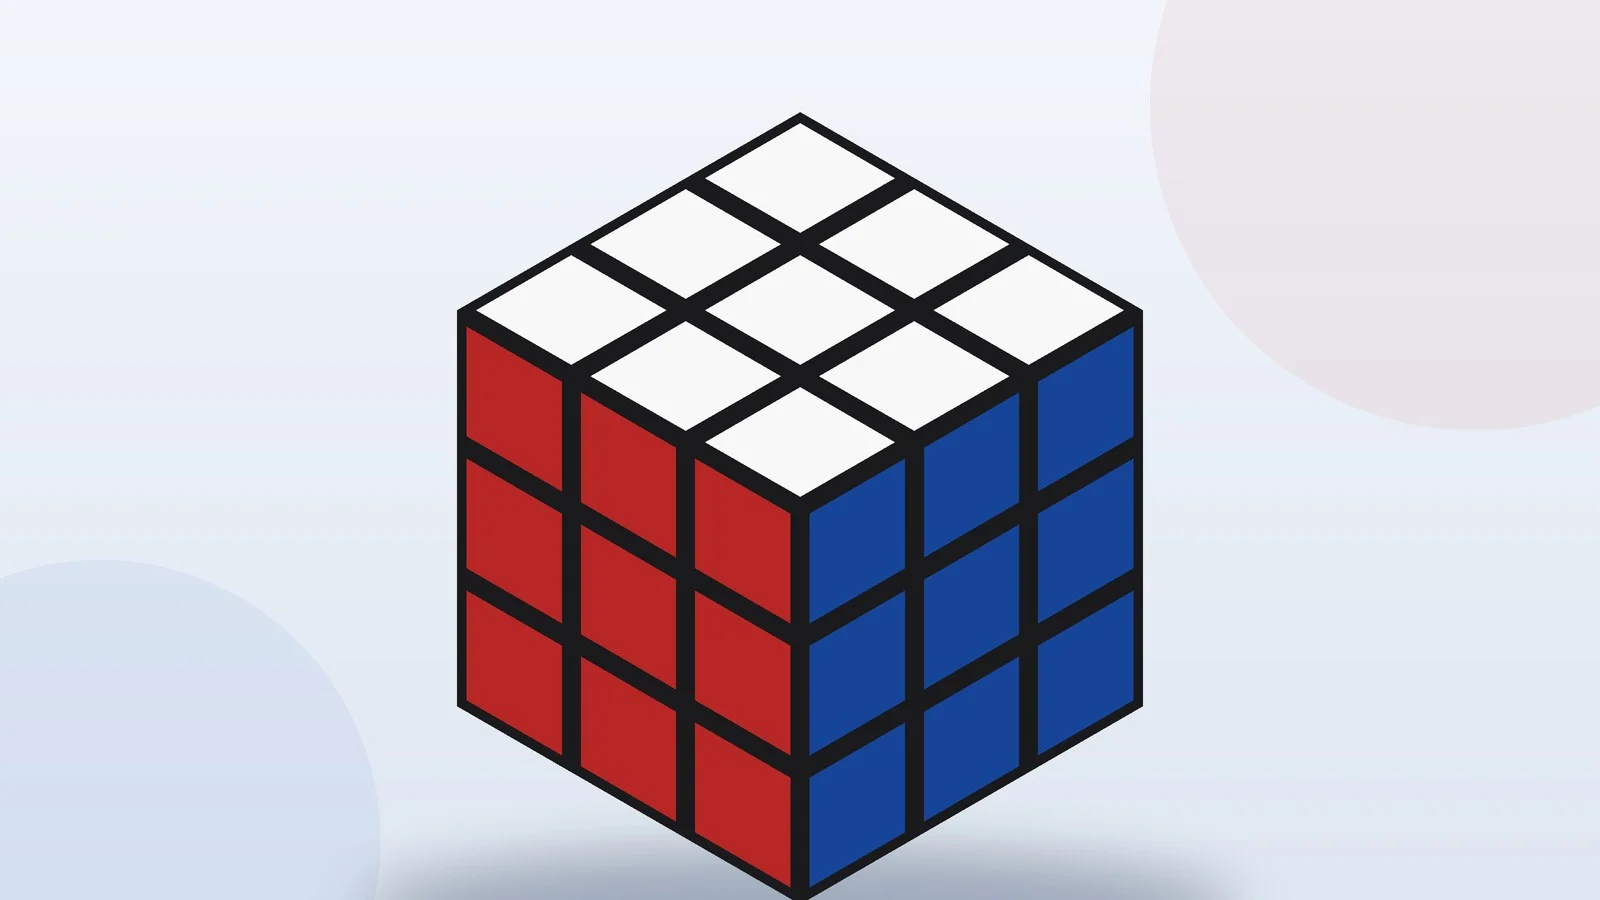
You can solve a 3×3 Rubik’s Cube without speedcubing techniques or dozens of algorithms. For a first solve the layer-by-layer method is enough: first the white cross and the first layer, then the middle layer, and after that the yellow cross and the placement of the last layer pieces. The main thing is not to try to build each color separately — the fixed center pieces are always your reference.
Move notation
| Letter | Face | Example |
|---|---|---|
| R | Right | R — turn the right face clockwise, R′ — counterclockwise. |
| L | Left | L — the left face clockwise, L′ — counterclockwise. |
| U | Up | U — the top face clockwise. |
| D | Down | D — the bottom face clockwise. |
| F | Front | F — the face that points toward you. |
| B | Back | B — the face that points away from you. |
| 2 | Half turn | U2 — turn the top face 180 degrees. |
Step 1. Build the white cross
Hold the cube with the white center on the bottom and the yellow one on top, and keep that orientation until the very end: every algorithm below assumes it. Find the four edge pieces that have white on them. Your job is to place them around the white center so that the second color of each edge matches the center of the side face. A white cross whose side colors do not line up is only half the step: it is the match with the centers that lets you keep solving without chaos.

Step 2. Finish the first layer with the white corners
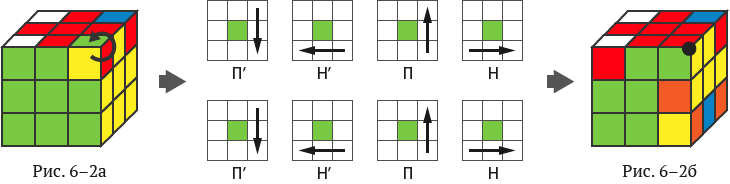
Find a corner piece with white on it and bring it to the top layer, right above the slot it belongs in. Hold it above the front right corner and repeat the sequence R′ D′ R D until the corner sits correctly. If the corner you need is already at the bottom but placed the wrong way, first bring it up to the top layer, then repeat the same trick.

Step 3. Solve the middle layer
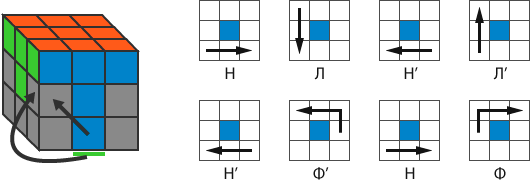
On the top layer, find an edge with no yellow on it. Line up its front color with the center of the front face and work out which side the piece has to go to. To insert it to the right, use the algorithm U R U′ R′ U′ F′ U F. To insert it to the left, use the mirror algorithm U′ L′ U L U F U′ F′. If the edge you need is stuck in the middle layer the wrong way round, first run either algorithm to bring it back up, then insert it correctly.
Step 4. Make the yellow cross
After the first two layers the top face will show a dot, an L shape, a line or already a cross of yellow stickers. Hold the cube with the yellow face up and perform F R U R′ U′ F′. Repeat the algorithm, changing the position of the top layer between tries, until you get the yellow cross. At this stage the side colors may still not match — that is normal.

Step 5. Permute the last layer edges
The yellow cross is there, but the side colors of its edges do not match the centers yet. Hold the cube with the yellow face up and turn only the top layer with U until at least one edge matches the center of its face. The algorithm R U R′ U R U2 R′ U swaps two top edges — the one at the front and the one on the left; the other two stay where they are and the yellow stickers remain on top. Put the two mismatched edges at the front and on the left and run it. If those two edges end up opposite each other, run the algorithm once from any position: they become neighbors, and a second run finishes the step. The step is done when the side color of all four top edges matches the side centers. The top corners may get shuffled along the way — that is normal, the next step takes care of them.
Step 6. Put the corners in their places
Now bring every yellow corner back to its own spot, no matter which way its yellow sticker faces. A corner is in the right place when its three colors match the three centers around it. Hold the cube with the yellow face up, move that corner to the top front right position and perform U R U′ L′ U R′ U′ L: the algorithm cycles the other three corners and touches neither the finished layers nor the top edges. If no corner is in the right place, run the algorithm once from any position — one corner will land correctly — and then repeat the trick. The step is done when every corner sits between its own centers; the yellow stickers may still face sideways.
Step 7. Twist the last layer corners
All that is left is to turn the corners so that yellow faces up. Move an unsolved corner to the top front right position and repeat R′ D′ R D until the yellow color ends up on top: it usually takes two or four repetitions. Then turn only the top face with U, bring the next unsolved corner to the same spot and repeat. Do not rotate the whole cube and do not touch the lower layers between algorithms. The cube will look scrambled for a while, but after the last corner it comes together completely.
What to do if the cube will not come together
- Check that the white cross really matches the side centers and does not just look white from above.
- Make sure you have not skipped a prime in an algorithm: R and R′ are different turns.
- Never run an algorithm halfway: every move in it is mandatory.
- Do not move on to the last layer corners until the side colors of all four top edges match the centers.
- Once the first layer is done, keep the white face on the bottom instead of changing the orientation of the cube from step to step.
- If a single piece looks physically flipped or swapped, the cube may have been taken apart and put back together incorrectly. Ordinary turns cannot fix that.
How to get faster after your first solve
First learn to solve the cube with the layer-by-layer method confidently, without looking at a cheat sheet. Then work on smooth turning and on spotting the next piece while you are still finishing the current step. Speed methods such as CFOP are worth learning later: they help your times, but you do not need them to solve the cube for the first time.
How long does it take to learn to solve a Rubik’s Cube?
A first solve usually takes anywhere from one sitting to a few evenings. It matters more to understand the order of the layers and to read the notation without confusion than to memorize every algorithm at once.
Do you have to learn a lot of algorithms?
For the basic method six short sequences are enough, and R′ D′ R D is used twice — on the first layer and on the last step. Learning complex speedcubing algorithms can wait until later.
Why can I not finish the last face?
Most often the reason is that the first two layers have a mistake in them, that the step permuting the top layer edges was skipped, or that an algorithm was performed with a turn in the wrong direction. Go back to the last step you are sure about and redo it slowly.
Does this guide work for a 2×2 cube?
Not entirely: a 2×2 cube has no center or edge pieces, so the order of the steps is different. This guide is written for the classic 3×3 cube.









Leave a Reply