
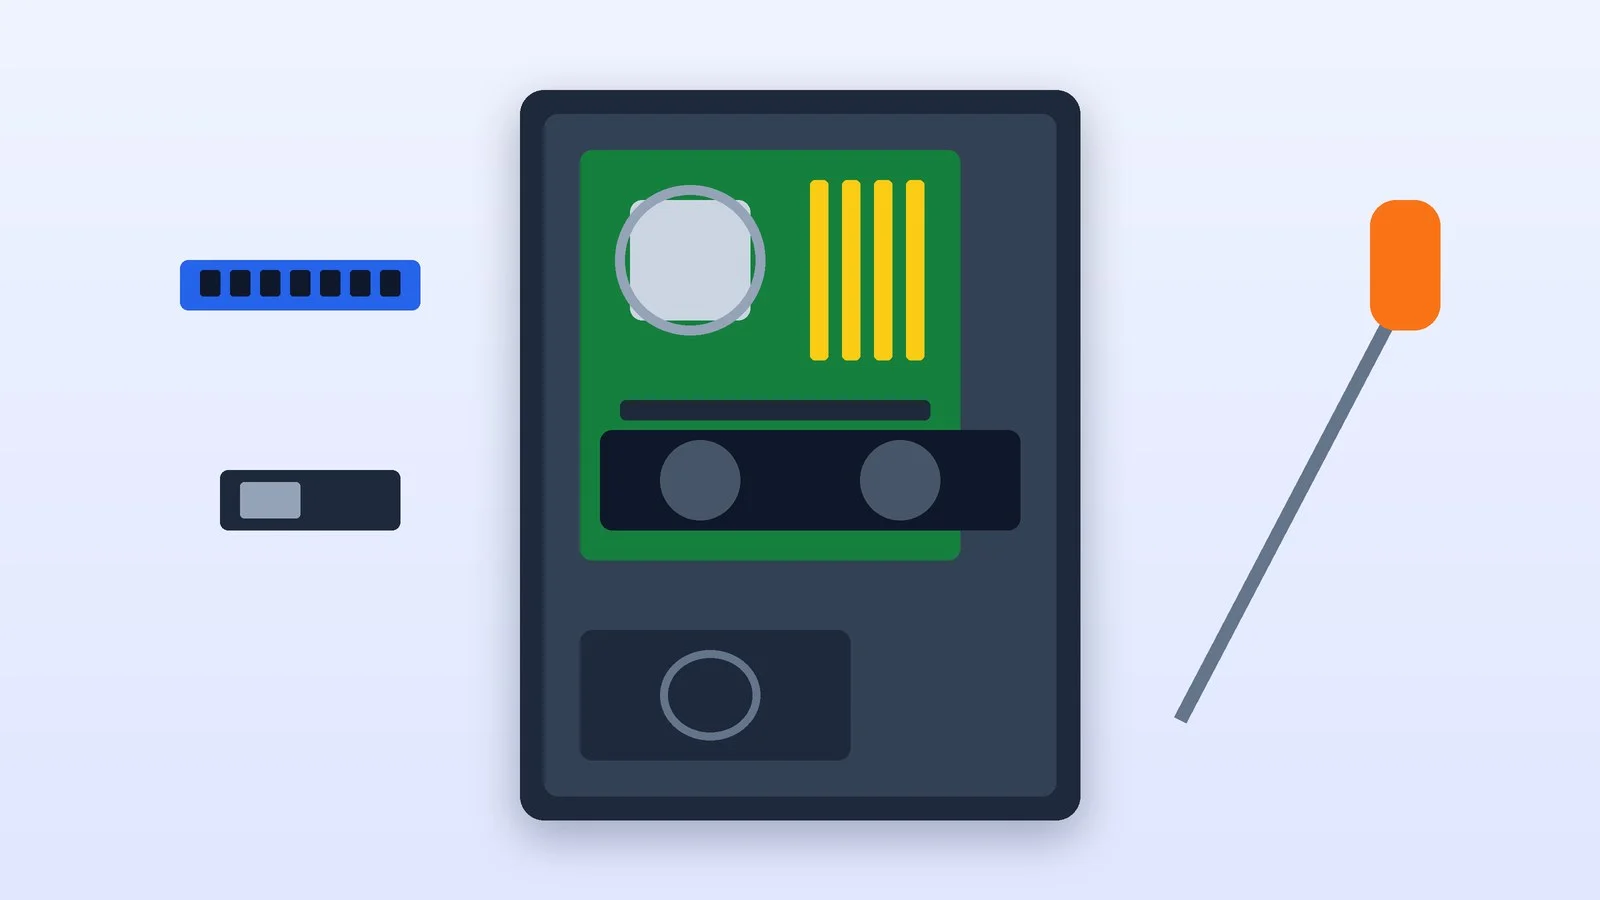
Building a PC yourself is compatibility checking first and careful assembly second: the CPU, memory, SSD and cooler go onto the motherboard outside the case, then the board moves into the case, the power supply, graphics card and front-panel buttons get connected, and the last step is installing Windows 11 from a USB drive. Set aside a few free hours for your first build and keep the motherboard manual at hand.
This guide covers today’s AMD AM5 and Intel LGA 1851 platforms with DDR5 memory and Windows 11 version 26H2. The steps and requirements were checked against manuals and pages from AMD, Intel, NVIDIA, MSI, ASUS, Corsair, Crucial and Microsoft as of October 9, 2026.
How to check PC parts compatibility
A compatibility mistake is the most expensive one: the part has to be returned or replaced. Before you buy, check five pairs: CPU and motherboard, motherboard and memory, case and part sizes, power supply and graphics card, motherboard and SSD.
CPU and motherboard
The motherboard socket must match the CPU socket. For AMD that’s AM5: according to AMD, all AM5 motherboards are compatible with all AM5 processors — Ryzen 7000, 8000 and 9000. Boards with 600-series chipsets (X670E, X670, B650, A620) may need a BIOS update for Ryzen 8000 and 9000, though. Newer boards use the X870E, X870, B850 and B840 chipsets. In May 2026, AMD extended AM5 support through 2029.
Intel’s current desktop socket is LGA 1851: it takes Core Ultra 200S processors, including the refreshed Core Ultra 200S Plus, on boards with 800-series chipsets — Z890, B860 and H810. Intel specifically warns that LGA 1700 and LGA 1851 are not cross-compatible, although LGA 1700 coolers fit LGA 1851 mechanically. For Core Ultra 200S Plus, motherboard makers released new BIOS versions.
So don’t stop at the socket: open the CPU support list on the motherboard’s page, which shows the minimum BIOS version for each processor. To pick the processor itself, see our ranking of the best CPUs for gaming and work.
Memory
AM5 and LGA 1851 work with DDR5 only. DDR4 and DDR5 are not interchangeable: the modules have a different key notch, voltage and signaling, so a DDR4 module physically won’t fit a DDR5 slot. For dual-channel mode, buy a kit of two identical modules — MSI’s motherboard manual specifies that they should match in type, number and density.
Every motherboard page has a qualified memory list (QVL), and AMD keeps its own memory compatibility list for Ryzen. A kit from such a list is more likely to run at its rated speed right away.
Case, form factor and clearances
The case must support the motherboard’s form factor: ATX is 305 × 244 mm, microATX 244 × 244 mm and Mini-ITX 170 × 170 mm. The case specs list the maximum graphics card length and CPU cooler height: compare them with your parts, leaving room for cables. For example, NVIDIA requires 244 × 112 × 41 mm of space for the GeForce RTX 5070 Founders Edition and recommends one more free slot in front of the card’s fans.
Power supply and connectors
Pick a power supply no weaker than the graphics card maker recommends: NVIDIA specifies at least 650 W for the GeForce RTX 5070 and 750 W for the RTX 5070 Ti. For your exact build, you can estimate wattage with the calculators from Corsair, Seasonic or be quiet!. Our graphics card ranking will help you choose the card itself.
Check the connectors. The motherboard needs a 24-pin cable and one or two 8-pin EPS (4+4) cables for the CPU. The graphics card needs 8-pin PCIe (6+2) cables or a single 16-pin 12V-2×6. That connector is defined in the PCIe CEM 5.1 specification and replaced 12VHPWR: according to Corsair, its sense pins are 1.5 mm shorter and its power terminals 0.25 mm longer, while 12VHPWR cables and adapters still work with it. The connector is rated for up to 600 W.
SSD and M.2 slots
Today’s system drive is an M.2 2280 SSD with a PCIe (NVMe) interface. Count the M.2 slots on the board and check the manual to see which ones connect to the CPU and which to the chipset, and which slots share lanes: for example, on the MSI PRO B850-P WIFI the PCI_E2–PCI_E4 slots share the same bandwidth.
A quick cheat sheet for every part:
| Component | What to check when choosing | Common mistake |
|---|---|---|
| CPU | Socket, board chipset, BIOS version | New CPU on a board with an old BIOS |
| Motherboard | Form factor, M.2 slots, EPS connectors | ATX board in a microATX case |
| Memory | DDR5, board QVL, two-module kit | Both modules in one channel’s slots |
| Graphics card | Length, thickness, connectors, PSU wattage | Monitor plugged into the motherboard |
| Power supply | Wattage, EPS, PCIe, 12V-2×6 cables | Cables from another modular PSU |
| Cooler | Height, socket mounting | Fan not connected to CPU_FAN |
| Case | Form factor, GPU length, cooler height | Extra standoff under the board |
| M.2 SSD | 2280 length, PCIe generation, free slot | Film left on the heatsink pad |
Prepare your workspace
Work at a large, stable table in good light. Intel advises standing on an uncarpeted floor and sorting screws into a magnetic tray or small boxes so they don’t get mixed up.
Static electricity can damage components. MSI’s motherboard manual recommends wearing an anti-static wrist strap or, without one, touching a metal object before you start. Hold the board by its edges, keep it in its anti-static bag until installation, and don’t plug the power supply into the wall until the build is finished.
Result: The desk is clear, static is discharged and the motherboard manual is open.
Install the CPU in the socket
Lay the motherboard on its box. Lift the socket lever and open the load plate. Find the marker in the corner of the CPU — a triangle or an arrow — and line it up with the marker on the socket. Lower the CPU straight down, holding it by the edges: as Intel puts it, the chip fits only one way and needs no force to seat.
Close the load plate and lower the lever — this part may take some force. Don’t remove the plastic socket cover beforehand: on Intel boards, according to Intel, it pops off by itself as you close the lever, and prying it off risks bent pins. For AM5, the illustrated steps are at the start of the motherboard manual. Don’t touch the contacts in the socket or on the CPU.
Result: The CPU sits flat, the load plate is closed and the lever is latched.
Install the memory
Open the slot latches. With two modules, use the slots the manual recommends: on four-slot boards that’s usually A2 and B2 — one per channel. MSI says the first module always goes into DIMMA2.
Line up the notch on the module with the key in the slot and press both ends down until the latches click. The module should go in without force: if it won’t, check that it’s facing the right way and that the memory type is correct.
Result: The modules sit evenly and the latches are closed on both ends.
Install the M.2 SSD
Remove the heatsink over the M.2 slot, if there is one. Insert the SSD into the connector at about a 30-degree angle, press it down and secure it with a screw or latch — on MSI boards that’s the EZ M.2 Clip.
Before putting the heatsink back, peel the protective film off its thermal pad — MSI’s manual lists this as a separate step. If your SSD has its own heatsink, MSI’s instructions say not to reinstall the board’s heatsink.
Result: The SSD is secured, the M.2 heatsink is back in place and the film is off the thermal pad.
Mount the cooler with thermal paste
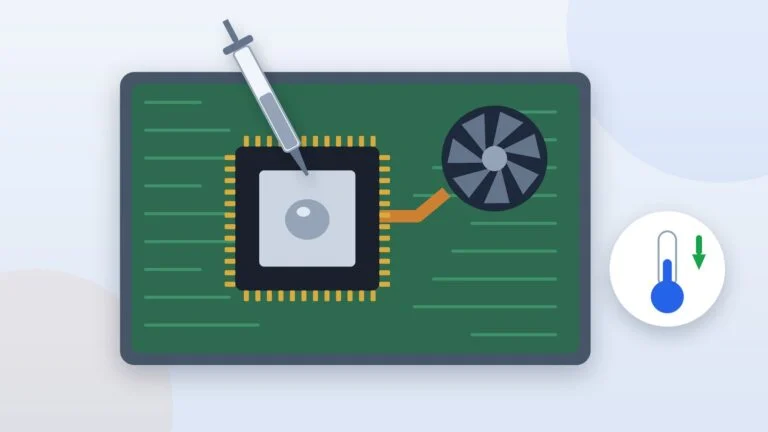
If a new cooler already has thermal paste pre-applied, you don’t need your own — AMD says so. If there’s no paste, apply a little: Intel suggests a dot the size of a grain of rice in the center of the CPU lid, AMD a thin bead in an X pattern. Excess paste can flow onto the socket. We showed how to apply and replace thermal paste in detail using a laptop as an example.
Peel the protective film off the cooler base if there is one. Install the mounting hardware per the cooler’s instructions and tighten the screws a little at a time in a cross pattern, as Intel advises. Connect the fan cable to the CPU_FAN header on the board and a liquid cooler’s pump to the pump header (on MSI boards it’s called PUMP_SYS1).
Result: The cooler is pressed down evenly and its fan is connected to the CPU_FAN header.
Prepare the case and install the power supply
Remove the case side panels. Check that the standoffs line up exactly with your board’s holes: Intel advises against adding extra ones, and MSI prohibits standoffs in the keep-out zones marked on the back of the board — a stray standoff can short the board to the case.
If the I/O shield isn’t built into the board, snap it into the case opening from the inside, the right way up: its edges are sharp. Many newer boards come with the shield pre-installed.
Screw the power supply into its bay with the fan facing a vent, as Intel recommends. With a modular unit, use only its own cables: Corsair warns that the pinout on the PSU side differs between brands and can change between series of the same brand, and a foreign cable can damage your components.
Result: Standoffs sit only under the board’s holes, and the I/O shield and power supply are in place.
Mount the motherboard and connect power
First, route the EPS cable through the opening at the top edge of the case: once the board is in, that corner is hard to reach. Then lower the board with the CPU, memory and cooler already installed at a slight angle so the rear ports slip into the I/O shield. Line up the holes with the standoffs and drive in every screw — snug, but without excess force.
Plug the 24-pin cable into the board until its latch clicks, and the EPS (4+4) cable into the CPU power connector at the top edge of the board. If there are two such connectors, ASUS recommends connecting both. Don’t confuse EPS with the 8-pin PCIe cable for the graphics card: according to Corsair, they differ in shape and wiring, and you should never plug one into the other.
Result: The board is secured with every screw and powered through the 24-pin cable and all EPS connectors.
Install the graphics card
Remove as many slot covers on the back of the case as the card is thick. Insert the card into the primary PCIe x16 slot — NVIDIA defines it as the one closest to the CPU — until the retention clip clicks, then screw it to the case.
Connect power. The 12V-2×6 plug must be fully inserted and seated flush, with no gap — NVIDIA makes this a separate requirement and recommends plugging the adapter into the card before installing the card in the slot. For 8-pin PCIe, use separate cables from the power supply: NVIDIA requires at least two independent cables for the RTX 5070 adapter. Support a heavy card with a bracket so the slot doesn’t bend, as MSI advises.
Result: The card is in the top PCIe x16 slot, screwed to the case, with power plugs fully seated.
Connect the front panel, fans and drives
The case button and LED wires go to a header near the bottom edge of the board (JFP1 on MSI boards): Power Switch, Reset Switch, Power LED and HDD LED. LED polarity matters — plus to plus, or the light won’t come on. The header layout is in the motherboard manual.
Next, connect the front-panel USB and USB-C headers, audio (HD Audio, JAUD1 on MSI boards), the case fans to the SYS_FAN headers, and SATA drives with a data cable to the board and power from the PSU. Tuck spare cables behind the motherboard tray so they don’t block airflow.
Result: Power button, LEDs, front USB and audio are connected and cables are tucked away.
Power on and check the BIOS
Connect the monitor to the graphics card, not to the motherboard output. Flip the switch on the power supply and press the case button. On the first boot with DDR5, the board “trains” the memory and the screen may stay black: Crucial says training can take up to 15 minutes. Don’t turn the PC off — later boots will be fast.
Right after power-on, press Delete (F2 on some boards) to enter the BIOS (UEFI). Check and set:
- whether the board sees the CPU, all of the memory and the SSD;
- the memory profile — EXPO on AMD or XMP on Intel: without it, modules run at standard JEDEC speeds rather than the speed on the box. This is memory overclocking, and AMD warns that running outside its specifications can void the warranty;
- TPM 2.0 — it’s part of the Windows 11 minimum requirements. In the BIOS it’s called Intel PTT or AMD fTPM, and according to Microsoft, on retail motherboards it is often turned off by default;
- CPU temperature and CPU_FAN speed;
- the BIOS version: if your CPU needs a newer one, update it before installing the OS.
Result: The board sees the CPU, all the memory and the SSD; the memory profile and TPM are on.
Create a Windows 11 installation USB drive
On another computer, open the Windows 11 download page and download the Media Creation Tool. As of October 9, 2026, Microsoft offers version 26H2. You need a blank flash drive of 8 GB or more: everything on it will be deleted.
- Run the tool as an administrator and select “Accept.”
- On the “What do you want to do?” page, select “Create installation media for another PC,” then “Next.”
- Choose the language, edition and architecture — 64-bit.
- Choose USB flash drive and wait for the tool to finish.
Result: The Windows 11 installer USB drive is ready.
Install Windows 11 and drivers
Plug the flash drive into the new PC and turn it on. If it doesn’t boot from the drive on its own, open the boot menu: Microsoft says you typically press F2, F12, Delete or Esc right after power-on, and on MSI boards F11 opens the boot menu. Pick the flash drive, choose your language, time and keyboard on the “Install Windows” page, then select “Next” and “Install Windows.” If the installer opens again after setup, restore the original boot order in the BIOS.
Windows 11 Home needs an internet connection and a Microsoft account during initial setup. Activation requires a product key or digital license; we explained how to make sure a key is legitimate in our guide on checking whether a Windows key is genuine.
After installation, open “Settings” → “Windows Update” and select “Check for updates.” Then install the chipset drivers — from AMD’s site (AMD Ryzen Chipset Drivers) or the motherboard’s support page — and the graphics driver: NVIDIA suggests the NVIDIA App for that, and Radeon cards use AMD Software: Adrenalin Edition.
Result: Windows 11 is installed and updated, with chipset and graphics drivers in place.
If the PC won’t start
First, look at the diagnostic LEDs on the board: ASUS calls them Q-LED, MSI calls them EZ Debug LED, labeled CPU, DRAM, VGA and BOOT. The LED that stays lit shows where startup stopped. ASUS has a detailed checklist in its troubleshooting guide for no power, no boot and no display.
- Nothing happens when you press the button — check the PSU switch and the outlet, the 24-pin and EPS cables on the board, and the Power Switch wire on the front-panel header.
- CPU LED is lit — check the EPS cable and whether the board supports the CPU with its current BIOS. Boards with a USB BIOS FlashBack (ASUS), Flash BIOS Button (MSI) or Q-Flash Plus (Gigabyte) button can update the BIOS without a CPU. Inspect the socket for bent pins.
- DRAM LED is lit — wait first: DDR5 training can take up to 15 minutes. If that doesn’t help, reseat the modules until they click, leave one module in the recommended slot and check that the memory is on the board’s QVL.
- VGA LED is lit, black screen — the monitor must be connected to the graphics card. Reseat the card, check its power cables and the monitor’s selected input.
- BOOT LED is lit — the hardware started, but there’s no boot drive: check the SSD in the BIOS, reseat the M.2 drive or boot from the Windows USB drive.
- Stopped booting after BIOS changes — reset the settings (Clear CMOS): on MSI boards, short the JBAT1 jumper for 5–10 seconds with the PC unplugged.
- Nothing helps — strip the build to a minimum, as ASUS advises: CPU with cooler, one memory module, graphics card and power supply, with no drives or USB devices, then add the rest back one at a time.
Sources and methodology
Analysis of public sourcesChecked 9 October 2026
- AMD — Socket AM5 chipsets and compatibility amd.com
- Intel — Core Ultra 200S processors and the LGA 1851 socket intel.com
- MSI — PRO B850-P WIFI motherboard user guide download-2.msi.com
- NVIDIA — GeForce RTX 5070 quick start guide nvidia.com
- Microsoft — creating Windows 11 installation media microsoft.com
FAQ
In what order do you build a PC?
Outside the case: the CPU, memory, M.2 SSD and cooler on the motherboard. Then the standoffs, I/O shield and power supply in the case, the motherboard with its 24-pin and EPS cables, the graphics card, front panel and drives. The first boot, BIOS setup and Windows 11 installation come last.
How do I check PC parts compatibility?
Check the CPU against the motherboard’s CPU support list and its minimum BIOS version, the memory type (DDR5) and the QVL, the board’s form factor and the case’s maximum GPU length and cooler height, and the PSU wattage and connectors against the graphics card’s requirements. Store configurators help, but the makers’ own pages have the final word.
Do I need an anti-static wrist strap?
It’s a good idea: MSI recommends one in its motherboard manual. Without a strap, touch a metal object before you start, hold the board by its edges and don’t build on a carpet.
Why does a new PC show a black screen for a long time?
Most likely the board is training new DDR5 memory: according to Crucial, this takes up to 15 minutes and repeats only after hardware or memory settings change. If the screen stays black longer, check that the monitor is connected to the graphics card and look at the board’s diagnostic LEDs.
Can I put DDR4 memory in a DDR5 motherboard?
No. DDR4 and DDR5 have different key notches, voltages and signaling, so a module won’t fit the other type’s slot. AM5 and LGA 1851 boards work with DDR5 only.




Leave a Reply