
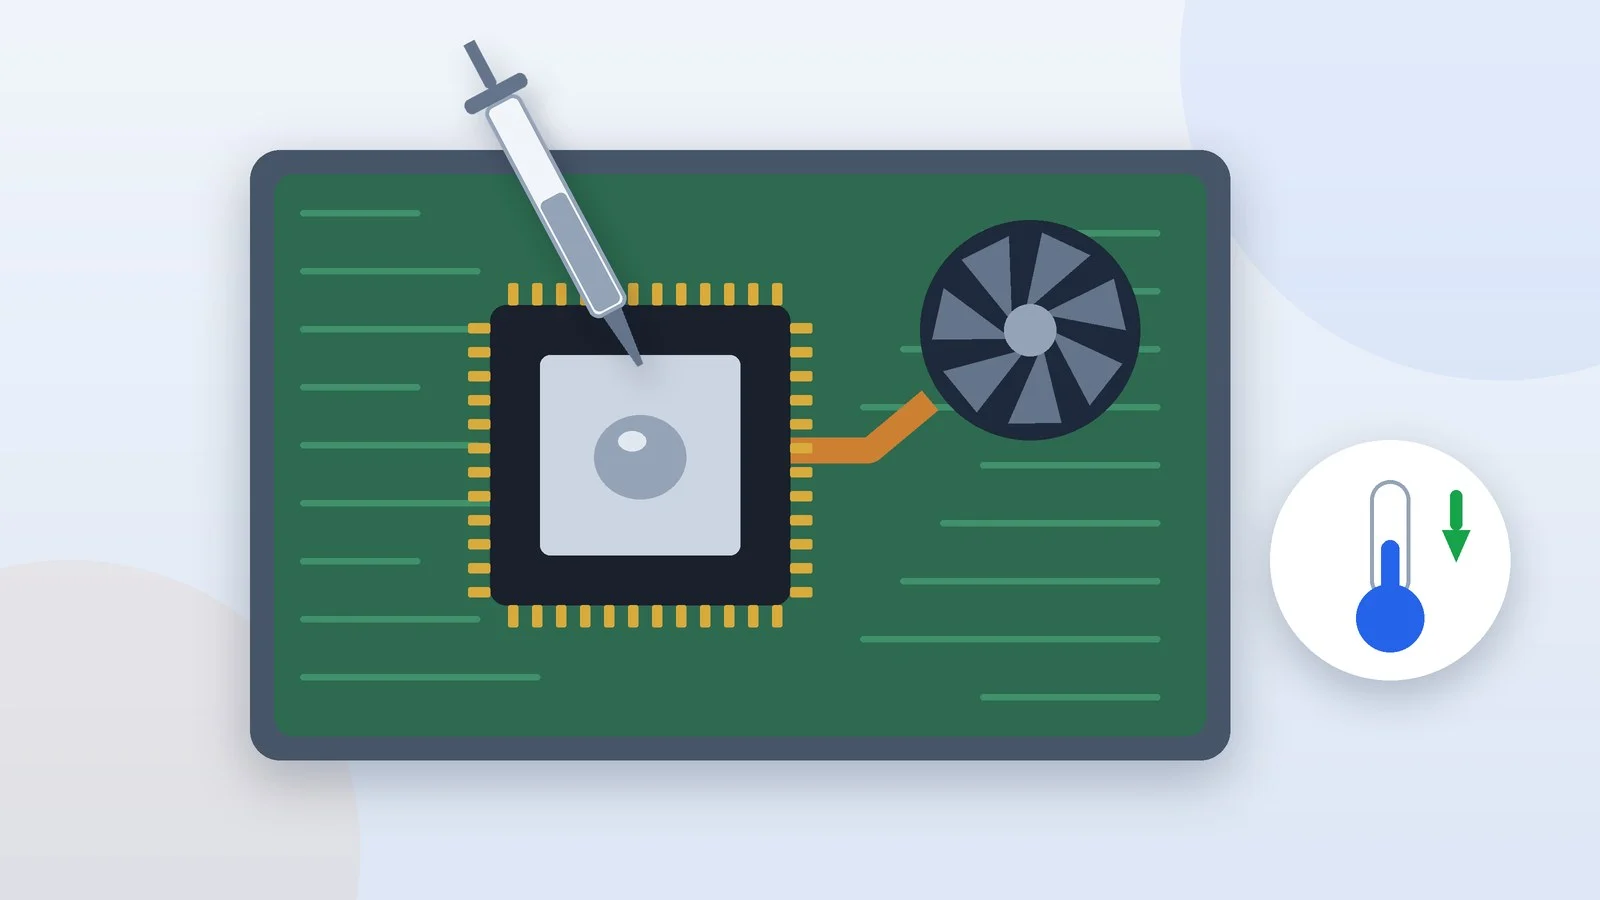
Replacing the thermal paste in a laptop makes sense when the CPU overheats and throttles, and cleaning out the dust and updating the BIOS haven’t helped. The process: disconnect the battery, remove the cooling assembly, wipe off the old paste with isopropyl alcohol, apply new paste — Lenovo specifies 0.2 g — and tighten the heatsink screws in the specified order.
The steps are checked against 2026 service manuals for the Lenovo ThinkPad E14 Gen 7, Dell Pro 14 Plus and HP EliteBook 8 G2i. Below: the warning signs, what to buy, how not to lose your warranty, what not to do with liquid metal and thermal pads, how to check the result and when to take the laptop to a service center.
Signs it’s time to replace the thermal paste
Intel and Dell list these signs of overheating:
- the fan is noticeably louder than usual;
- under sustained load the laptop slows down and the CPU runs at a lower clock speed than expected — it throttles to avoid overheating;
- the laptop shuts down shortly after it starts or crashes under load;
- the chassis is hot to the touch.
These are signs of overheating in general, not just of old paste. Before you open the laptop, rule out the simple causes:
- Dust in the vents. Dell recommends blowing them out with compressed air, holding the can upright, and not using a vacuum cleaner: it can cause a static discharge.
- An outdated BIOS. According to Dell, a BIOS/UEFI update can improve thermal performance.
- A faulty fan. Run the fan test in the manufacturer’s diagnostics: on a Dell it’s in SupportAssist, on a ThinkPad it’s in the built-in diagnostics you open with F10 at startup (the Fan test).
- Power mode. If the laptop is slow but barely warm, power saving may be the cause — here’s how to turn off power saving mode on a laptop.
How often to replace laptop thermal paste
There is no fixed interval. The Lenovo, Dell and HP service manuals this guide is based on don’t give one. Paste makers promise a long service life: Noctua says NT-H2 can stay on a CPU for 5 years or more, and ARCTIC says MX-6 doesn’t dry out or bleed.
So there is no universal “once a year” rule. Replace the paste when overheating persists after cleaning — and always if you’ve removed the heatsink, for example to clean the fan. HP requires cleaning off the thermal material every time the heatsink is removed, and Lenovo requires applying fresh paste even when the same heatsink goes back in.
Which thermal paste to choose
For a DIY job, use ordinary non-metallic paste: it doesn’t conduct electricity, so a drop that lands on the board won’t short anything. Liquid metal transfers heat better — ASUS says 12 to 15 times better than standard paste — but it conducts electricity and takes experience.
| Thermal interface | Conducts electricity | Where it’s used | DIY replacement |
|---|---|---|---|
| Non-metallic paste | No | CPU, GPU | Yes, per the manual |
| Liquid metal | Yes | Some gaming laptops | Not recommended |
| Thermal pads | No | Gaps of 0.2–3 mm | Same thickness only |
Examples of non-metallic pastes are ARCTIC MX-6, Noctua NT-H2 and Thermal Grizzly Kryonaut; of liquid metal, Thermal Grizzly Conductonaut; of pads, ARCTIC TP-3 and Thermal Grizzly Minus Pad. Laptop CPUs usually have no metal lid, and ARCTIC specifically says MX-6 is suitable for direct-die contact.
Before you start: warranty and safety
Lenovo, Dell and HP don’t treat the cooling assembly as a user-replaceable part. Here’s what manufacturers say about warranty and DIY repair:
- Dell: damage caused by servicing that Dell hasn’t authorized isn’t covered by the warranty, and the heatsink sections of the manual are meant for authorized technicians.
- HP: only trained technicians should replace the heatsink, and accessing such parts can damage the computer or void the warranty.
- Lenovo: the fan and heatsink aren’t customer-replaceable parts; if you replace them yourself anyway, Lenovo asks you to follow the instructions carefully.
- ASUS: the warranty doesn’t apply if the laptop has been tampered with, repaired or modified by unauthorized personnel or the warranty seals are broken.
- Apple: the warranty doesn’t cover damage caused by service performed by anyone other than Apple or an Apple Authorized Service Provider.
While the warranty is valid, go to the manufacturer’s service center. If you do it yourself, work only on a laptop with the power cut off and protect the board from static: Lenovo recommends a grounded wrist strap and keeping parts off your clothes, which hold a charge.
Find the service manual for your model
Download the service manual from the manufacturer’s support site: it shows how the cooling assembly comes off in your specific model. Lenovo, Dell and HP publish these manuals openly, including for laptops from our list of the best business laptops of 2026.
Look for three things in the manual: how many screws hold the heatsink and in what order to undo them, whether there are thermal pads under it, and what thermal interface is applied at the factory. For example, on the Alienware x16 R2 the heatsink comes off only after the system board, and the GPU — and in higher-end configurations the CPU too — uses Element 31, which must not be wiped with alcohol.
Result: You know where the heatsink is, how many screws hold it and what’s under it.
Record temperatures before you open it
Without a “before” measurement, you can’t tell whether the replacement helped. Install HWiNFO and Cinebench 2026, plug the laptop in, put it on a hard, flat surface and close unneeded apps.
Open the sensors window in HWiNFO and run the multi-core CPU test in Cinebench, and let it run for about 10 minutes so heat has time to build up. Note the maximum CPU temperature (CPU Package on Intel, CPU (Tctl/Tdie) on AMD), the core clock at the end of the test and the final score.
Result: You have the temperature, clock speed and score to compare after the replacement.
Cut the power
Shut the laptop down from the Start menu and unplug the power adapter and all cables. Then disconnect the battery — the method depends on the manufacturer:
- ThinkPad: turn off Fast Startup in Windows, press F1 at startup, select Config → Power → Disable built-in battery in the BIOS and confirm with Yes. The laptop turns off; Lenovo recommends waiting 3–5 minutes for it to cool down.
- Dell with Service Mode: with the laptop off and the adapter unplugged, hold B and the power button for 3 seconds until the Dell logo appears, then press any key at the prompts. After three short beeps the laptop shuts down and battery power is cut off.
- Other models: disconnect the battery cable from the board right after removing the cover — HP, Dell and Lenovo manuals require this when there’s no software method.
Dell then recommends holding the power button for 15 seconds to drain residual power from the board. Before you start, touch unpainted metal or put on a wrist strap.
Result: The laptop is off, and the battery isn’t powering the board.
Remove the bottom cover
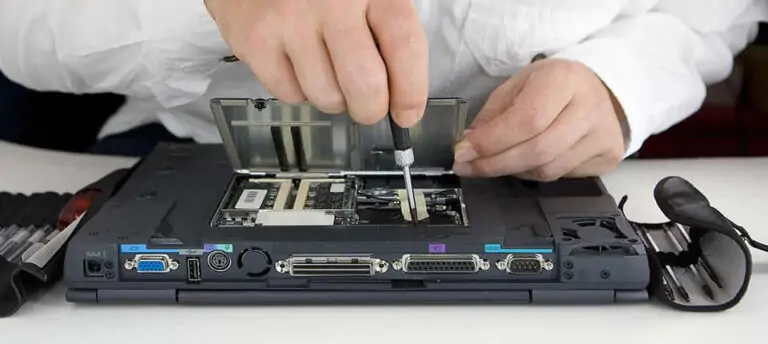
Undo the bottom cover screws. Some are captive and stay in the cover: the ThinkPad E14 Gen 7 has seven of them. Release the clips with a plastic pry tool, not metal.
Lenovo warns not to remove the cover while the power adapter is connected or a removable battery is installed — there’s a risk of a short circuit. If you didn’t disable the battery in software, disconnect its cable right away: pull by the connector or pull tab, not the wire.
On some models the heatsink isn’t visible under the cover: you have to remove the keyboard or the system board first. If the manual calls for that kind of disassembly and you lack experience, take the laptop to a service center.
Result: You can see the fan, heat pipes and heatsink.
Remove the cooling assembly
Disconnect the fan connector and peel off the tape on the heatsink if there is any — HP EliteBook models, for example, have it. Then loosen the heatsink screws in reverse order of the numbers marked next to them, for example 4 → 3 → 2 → 1, as in the Dell manual. HP also requires loosening them in the order indicated on the heatsink.
If the laptop was running recently, the heatsink may be hot — let it cool. Lift it straight off and don’t touch the contact areas with your fingers: according to Dell, skin oils reduce the heat transfer of the paste. Take a photo of where the thermal pads sit.
Result: The heatsink is off, and old paste is visible on the CPU and GPU dies.
Remove the old paste and dust
Wipe the paste off the dies and the heatsink base with a lint-free wipe or swab moistened with high-concentration isopropyl alcohol, as Thermal Grizzly recommends. Ready-made wipes work too: Noctua’s are soaked in an isopropyl alcohol mixture. Don’t scrape the paste off with metal.
If there’s silvery liquid metal or Element 31 under the heatsink, stop: Dell warns against wiping Element 31 with alcohol wipes — the alcohol turns it into conductive metal particles that short the board when you power on. While the heatsink is off, blow out its fins and the fan with compressed air.
Result: The dies and the heatsink base are clean and dry.
Apply new paste
For the ThinkPad E14 Gen 7, Lenovo specifies 0.2 g of paste on the marked area. That’s a small drop: according to Lenovo, both too much and too little paste impair contact with the chip and lead to overheating.
Check the paste’s instructions for the application method. ARCTIC MX-6 isn’t spread by hand — the heatsink’s contact pressure spreads it. Thermal Grizzly suggests squeezing out a drop of about 3 × 3 mm and spreading it thinly over the whole surface with a plastic spatula.
Every chip that touches the heatsink needs paste: the CPU and, if there is one, the GPU. Leave intact thermal pads in place and replace torn ones with pads of the same thickness.
Result: A thin layer of new paste covers the dies, and the pads are in place.
Reassemble the laptop and rerun the test
Seat the heatsink precisely: Dell warns that misalignment can damage the board and processor. Tighten the screws in ascending order of the numbers or letters next to them — Lenovo says that otherwise the system board may be damaged. Push the fan connector all the way in and don’t press on the fan cover or hub.
Reconnect the battery, put the cover back on and power up the laptop. To exit Dell’s Service Mode, connect the power adapter and press the power button. Then rerun the test from step 2 under the same conditions.
Result: The laptop starts, and under the same load the temperature is no higher than before.
Liquid metal and thermal pads: what not to do
- Don’t apply liquid metal instead of paste. It conducts electricity; Thermal Grizzly prohibits using Conductonaut with aluminum heatsinks and recommends it for experienced users.
- Don’t take apart a cooling system with factory liquid metal. ASUS has used it in ROG gaming laptops since 2019 and doesn’t recommend that users disassemble the thermal module or replace cooling materials: liquid metal can short components on the board.
- Don’t wipe Element 31 in an Alienware with alcohol. According to Dell, alcohol turns it into conductive particles that cause a short when you power on.
- Don’t replace pads with paste. ARCTIC recommends paste only if the gap is under 0.2 mm and advises matching a new pad’s thickness to the old one.
- Don’t use pads thicker than needed. Thermal Grizzly advises against its thick High Compression pads in laptops: the heatsink there is often held by just four screws, so pressure in the center is weak.
How to check the result
Rerun the test from step 2 under the same conditions: same power mode, plugged in, same surface. The replacement worked if the maximum temperature is lower, or at least no higher, at the same or better score and clock speeds.
High temperature under load isn’t a fault in itself. A processor has a limit, TjMax: when it reaches it, the processor lowers its clock speed, and if that doesn’t help, it shuts down. Intel says running at the limit under load isn’t necessarily cause for concern. Look up your processor’s limit in its specifications on the Intel or AMD website.
| Processor | Maximum temperature (TjMax) |
|---|---|
| Most Intel processors | 100–110 °C |
| Intel Core Ultra 7 255H | 110 °C |
| AMD Ryzen AI 9 HX 370 | 100 °C |
What should worry you is this: after the replacement, the temperature hits the limit sooner than before, and clock speeds and scores drop. HWiNFO also shows this in its Thermal Throttling lines: Yes means the overheating protection kicked in. But on laptops this flag can also be triggered by external sensors, such as skin temperature — the HWiNFO author calls this common.
Windows Task Manager is no substitute for HWiNFO here: its Performance tab shows only the temperature of a discrete graphics card, not the CPU.
When to leave the thermal paste replacement to a service center
- The laptop is under warranty — opening it yourself may void it.
- The laptop has factory liquid metal (ASUS ROG gaming laptops) or Element 31 (some Alienware models).
- You have to remove the keyboard or the system board to reach the heatsink.
- It’s a MacBook: Apple’s repair manual for the MacBook Pro 14 (M5) covers replacing the fan and logic board but has no separate thermal paste procedure.
- The pads have crumbled and you can’t measure their thickness. HP, for example, offers a separate pad kit as a spare part for the EliteBook 8 G2i heatsink.
- The temperature didn’t drop after the replacement, and the fan test in the manufacturer’s diagnostics reports an error.
Troubleshooting
- The temperature is higher than before — most likely the heatsink isn’t seated firmly, or there’s too much or too little paste. Remove it, check that the pads aren’t in the way, clean the surfaces, reapply the paste and tighten the screws in order.
- The laptop won’t turn on — connect the power adapter (that’s how you exit Service Mode on a Dell) and check that the battery cable is connected.
- Fan error, or the fan doesn’t spin — check that the connector is fully seated: Lenovo specifically requires it to be attached firmly.
- You’re installing a new heatsink from a kit — read its instructions first: on Alienware, for example, the new heatsink comes with paste pre-applied, and Dell says not to add more. Intel advises checking that the protective film has been removed from the thermal interface.
- You found liquid metal under the heatsink — don’t try to clean it off; contact the manufacturer’s service center: ASUS doesn’t recommend disassembling such a thermal module yourself.
Sources and methodology
Analysis of public sourcesChecked 29 September 2026
- Lenovo — ThinkPad E14 Gen 7 and E16 Gen 3 Hardware Maintenance Manual download.lenovo.com
- Dell — Dell Pro 14 Plus Owner's Manual dl.dell.com
- HP — EliteBook 8 G2i 14 inch Maintenance and Service Guide kaas.hpcloud.hp.com
- ASUS — Liquid Metal in gaming notebooks (FAQ) asus.com
- Intel — Information about Temperature for Intel Processors intel.com
FAQ
How often should you replace laptop thermal paste?
There’s no fixed interval: Lenovo, Dell and HP service manuals don’t specify one, and Noctua says NT-H2 lasts on a CPU for 5 years or more. Replace the paste if overheating persists after cleaning — and always after removing the heatsink.
Do you need to replace thermal paste if the laptop isn’t overheating?
No. If the fan isn’t louder than usual, clock speeds don’t drop and the laptop doesn’t shut down, there’s no need: disassembly always carries risk, and on a laptop under warranty it may void the warranty.
How much thermal paste should you apply to a laptop CPU?
For the ThinkPad E14 Gen 7, Lenovo specifies 0.2 g on the marked area and warns that both too much and too little paste impair contact. The layer should be thin but cover the entire die.
Can you replace a thermal pad with thermal paste?
No. ARCTIC recommends paste only for gaps under 0.2 mm, while pads are made for larger gaps that paste can’t fill. Replace a pad with one of the same thickness.
Does replacing thermal paste void the warranty?
It depends on the manufacturer. Dell doesn’t cover damage from servicing it hasn’t authorized, HP says accessing the heatsink can void the warranty, and ASUS voids the warranty if the laptop has been tampered with by unauthorized personnel or the seals are broken. While the warranty is valid, go to the manufacturer’s service center.











Leave a Reply