
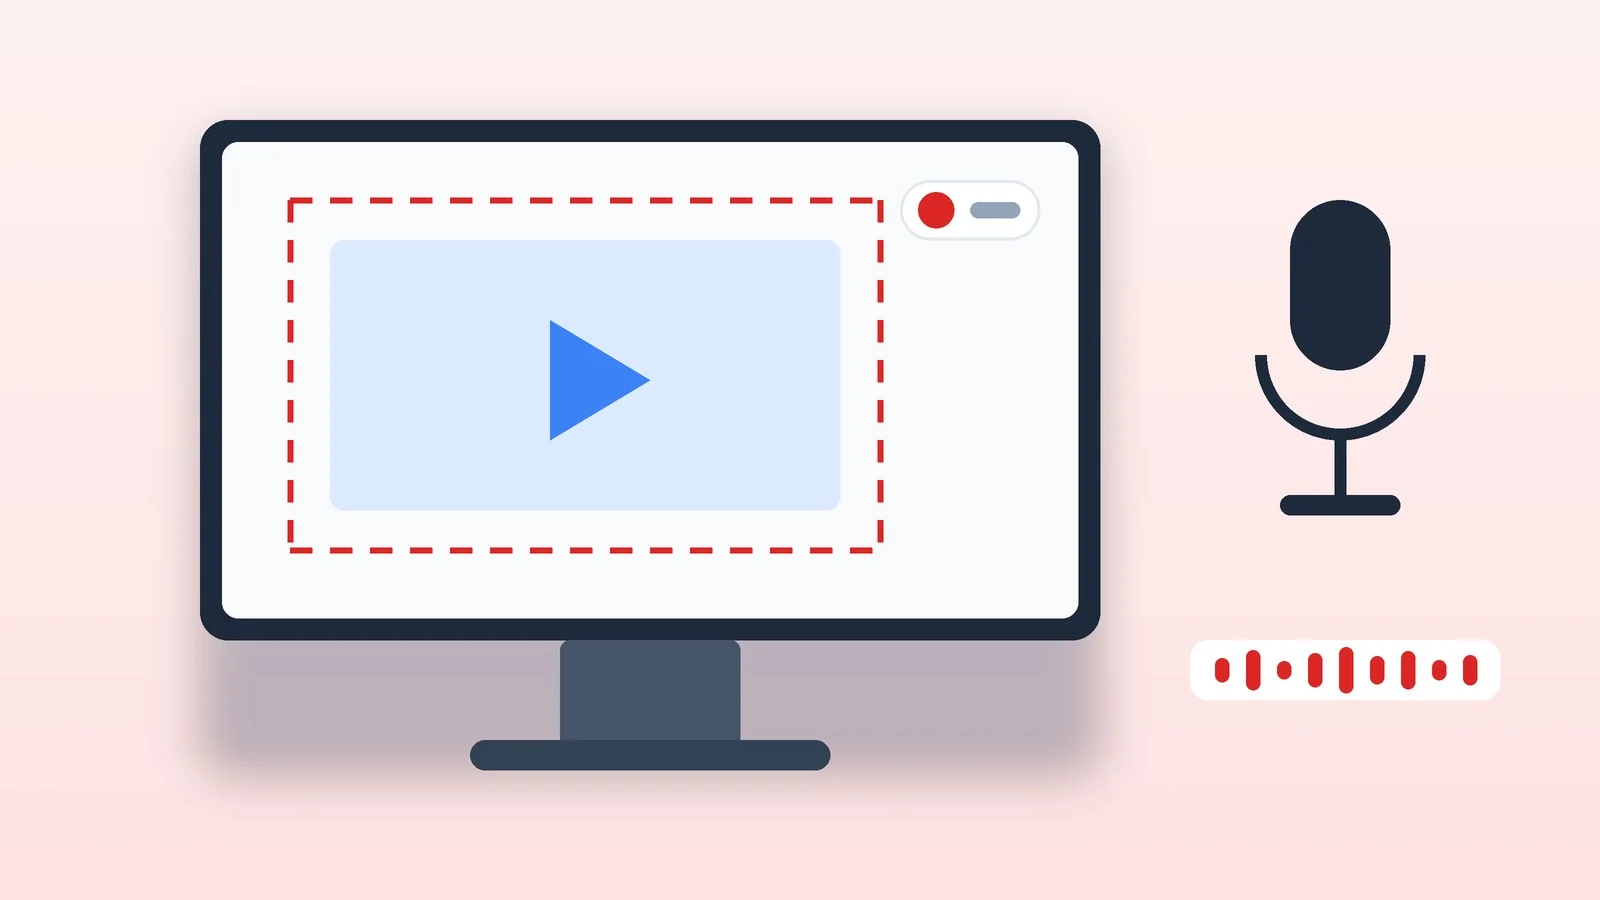
You can record your computer screen without paid software: the tools are built into Windows and macOS. In Windows 11, press Win + Shift + R — Snipping Tool records the area you select, and you turn on computer audio and the microphone right in the recording bar. Xbox Game Bar records a game or app in Windows 10 and 11 (Win + Alt + R), and on a Mac, recording opens with Shift + Command + 5.
For longer recordings — lessons, webinars, videos with your webcam over the screen — try the free OBS Studio: it runs on Windows, macOS, and Linux and mixes system audio and your mic in its own mixer. Below are steps for each method, a table to help you choose, and fixes for no sound or a black screen. Menus and limits were checked against Microsoft, Apple, Google, and OBS documentation as of October 7, 2026.
How to record your computer screen: tools compared
Built-in system tools are enough for a short clip. OBS Studio comes in handy for long recordings, audio from a single app, a webcam in the frame, or the same method across different computers.
| Tool | System | System audio | Limits | Best for |
|---|---|---|---|---|
| Snipping Tool | Windows 11 | Yes, toggle in the bar | Rectangular area | Short how-to clips |
| Xbox Game Bar | Windows 10 and 11 | Yes, the All option in settings | One app, one monitor | Games and apps |
| Clipchamp | Windows app, browser | From a browser tab (personal account) | Up to 30 minutes per take | Screen with webcam, editing |
| Screenshot app and QuickTime | macOS | Since macOS 27 Golden Gate | Window — since macOS Tahoe 26 | Quick recording on a Mac |
| OBS Studio | Windows 10 and 11, macOS 13+, Linux | Yes, all audio or one app | Needs initial setup | Lessons, games, webinars |
| Built-in recorder | ChromeOS | Yes, device audio | Video in WebM only | School and work on a Chromebook |
1. Snipping Tool in Windows 11: screen recording with audio
Snipping Tool in Windows 11 records any rectangular area of the screen. Since a 2023 update, it can add computer audio and your voice from a microphone to the clip: the toggles are in the recording bar, and the defaults are set in the app’s settings. If you have several microphones, you pick one before recording starts.
- Press Win + Shift + R to open the recording bar. Alternatively, find Snipping Tool in Start, select Record, then New.
- Drag to select the area you want to record.
- Turn on computer audio and the microphone in the bar if you need them in the clip.
- Select Start. When you’re done, select Stop.
- The recording opens in the Snipping Tool window: save it (Ctrl + S) or select Edit in Clipchamp to trim the clip and add captions.
2. Xbox Game Bar: games and apps in Windows 10 and 11
Game Bar is built into Windows 10 and 11 and designed for games, but it records regular apps too. It captures one app’s window on one monitor and saves finished clips as MP4 files in Videos → Captures. The file name includes the name of the game or app plus the date and time.
- Make sure Game Bar is on: press Win + I, type xbox in the Settings search box, and turn on Xbox Game Bar.
- Open the game or app you want to record and press Win + G.
- To capture all sound, select the settings icon on the bar, open the capturing section, and choose All: this records the game, apps, system sounds, and an enabled mic.
- Start recording with Win + Alt + R. Turn the mic on or off with Win + Alt + M.
- Stop recording with the same Win + Alt + R. The clip appears in the Game Bar gallery and in Videos → Captures.
In full-screen games the bar may not appear, but Win + Alt + R still works: the screen flashes when recording starts and stops. If background recording is on in Game Bar settings, Win + Alt + G saves the last moments of play. You set the length of that clip in Windows Settings, in the Gaming section.
3. Clipchamp: screen and webcam with editing
Clipchamp is Microsoft’s video editor. It runs as a Windows app from the Microsoft Store and in the Edge and Chrome browsers, records the screen or the screen together with your webcam, and opens the recording for editing right away. Screen and camera recordings land on the timeline as separate tracks, so you can place the camera in a corner as picture-in-picture.
- Open Clipchamp and create a new video.
- In the toolbar, open the Record & create tab and choose Screen or Screen & camera.
- The first time, allow access to your camera and microphone.
- Choose a microphone, select the red record button, and pick what to share: a browser tab, a window, or the entire screen.
- If you need sound from the browser — say, a video or the web version of a call — choose a browser tab and turn on the audio sharing toggle. In Clipchamp for personal accounts, this is the only way computer audio gets recorded.
- Stop with the Stop sharing button, save the recording, and go to the editor. Export the finished video as MP4.
A single recording can be up to 30 minutes long — for a long lesson, record several takes and join them in the editor. A copy of the original recording in WebM format downloads to your computer: to the Downloads folder or to a folder you choose. If your laptop’s built-in camera looks poor, check out our ranking of webcams for calls and streaming.
4. Screen recording on Mac with audio: Screenshot app
On a Mac, recording is built into the Screenshot app. It records the entire screen, a selected portion, or a single window. Window recording arrived in macOS Tahoe 26, and system audio without third-party apps in macOS 27 Golden Gate.
- Press Shift + Command + 5 to open the Screenshot toolbar.
- Choose Record Entire Screen, Record Selected Window, or Record Selected Portion. You can drag the frame and resize it by its edges.
- Click Options and choose a microphone if you need your voice. To record sound from apps and the browser in macOS 27 Golden Gate, choose Include System Audio in the same menu.
- Options also has a timer, the save location, and Show Mouse Clicks, which draws a black circle around the pointer when you click.
- Click Record. If you’re recording a window, click that window.
- To stop, click the Stop button in the menu bar or press Command + Control + Esc. Click the thumbnail in the corner of the screen to trim the clip, or let it save on its own.
By default, the recording is saved to the desktop as a MOV file whose name starts with “Screen Recording” and includes the date and time. On supported Macs with macOS Tahoe 26 or later, Options also offers a capture format: SDR records H.264 video that plays on most devices, while HDR records HEVC with a wider range of brightness and color, visible only on an HDR display.
With QuickTime Player
In QuickTime Player, choose File → New Screen Recording or press Control + Command + N. In current versions of macOS, this opens the same Screenshot toolbar with the same options, so the recording itself is no different. You can open the finished clip in QuickTime Player to watch and trim it.
System audio and permissions on Mac
The Include System Audio option exists only in macOS 27 Golden Gate and later. In macOS Tahoe 26 and earlier, the built-in tools record only the microphone, so app audio there is recorded with OBS Studio — method 5 below.
You decide which apps can record the screen and audio: System Settings → Privacy & Security → Screen & System Audio Recording. There you can allow an app to record the screen with audio or audio only. Microphone access is turned on in the neighboring Microphone section.
5. OBS Studio: free screen recording software
OBS Studio is free, open-source software for video recording and live streaming. Version 32.2.2 came out on August 14, 2026, and runs on Windows 10 and 11, macOS 13 or later, and Linux, where it’s officially distributed as a Flatpak on Flathub and through a PPA for Ubuntu 24.04 and later. Download it only from the official site, obsproject.com.
First launch and recording
- Install OBS Studio and open it. On first launch, the Auto-Configuration Wizard appears — choose “Optimize just for recording, I will not be streaming.” You can reopen the wizard later from Tools → Auto-Configuration Wizard.
- In the Sources dock at the bottom of the window, click + and add a video source — the options are below.
- Check the audio in the Audio Mixer: when your computer plays sound and you speak, the meters should move.
- In Settings → Output, set the folder in the Recording Path field and choose a recording format.
- Click Start Recording in the Controls dock, then Stop Recording to finish. File → Show Recordings opens the finished files.
What to capture: screen, window, or game
- Display Capture — the entire monitor on Windows. On Linux, the same source is called Display Capture (XSHM), and on Wayland it’s Screen Capture (PipeWire).
- Window Capture — a single window: only that window appears in the frame, even if other windows are on top of it.
- Game Capture — 3D games with the best performance, Windows only.
- macOS Screen Capture — on a Mac: an entire display, one window, or all windows of an app, with audio on macOS 13 and later.
- Video Capture Device — your webcam. A source higher in the list covers the ones below it, so place the camera above the screen capture and shrink its frame by the corners.
System audio and microphone
By default, OBS records desktop audio and your microphone. If the mixer meters don’t move or the wrong device is selected, open Settings → Audio and set Desktop Audio and Mic/Auxiliary Audio manually.
On Windows 10 version 2004 or later and Windows 11, you can record a single app’s audio — for example, just the browser, without messenger alerts. Check Capture Audio (BETA) in the Window Capture or Game Capture properties, or add an Application Audio Capture (BETA) source. Then disable the global desktop audio in the audio settings, or you’ll get an echo.
On a Mac, add a macOS Audio Capture source: it records all system audio or a single app’s audio in OBS 30 and later on macOS 13 and later. OBS will need permission in Screen & System Audio Recording, and in Microphone for your voice.
File format and quality
In Settings → Output in Simple mode, set Recording Quality to “High Quality, Medium File Size” or “Indistinguishable Quality, Large File Size.” For Recording Format, Hybrid MP4 (.mp4) is a convenient choice, available since OBS 30.2: the file opens like a regular MP4, and the recording can be recovered after a crash or power outage.
OBS’s own documentation recommends MKV: such a file won’t be corrupted entirely if recording is interrupted. To convert MKV to MP4 for editing, use File → Remux Recordings. Set hotkeys to start and stop recording in Settings → Hotkeys. Before an important recording, make a test clip a few minutes long — the OBS developers recommend it too.
6. Chromebook and Linux: built-in recording
On a Chromebook, press Shift + Ctrl + Show windows, select Screen record at the bottom, and choose full screen, partial screen, or a window. In the bar’s settings, you can turn on device audio, the microphone, or both, as well as the front camera. To stop, select the button at the bottom right or press Search + Shift + X. The video is saved in WebM format to the Downloads folder.
On Linux with the GNOME desktop, which is the default in Ubuntu, press Print Screen and switch to video mode, or press Shift + Ctrl + Alt + R right away. The clip is saved to the Screencasts folder inside Videos. GNOME’s help doesn’t describe audio recording, so OBS Studio is the more reliable choice for clips with sound.
If there’s no sound or a black screen
- No computer audio in the clip — in Snipping Tool, turn on computer audio in the recording bar; in Game Bar, choose All in the capture settings; in Clipchamp, record a browser tab with audio sharing on. On a Mac, the built-in tools record system audio only in macOS 27 Golden Gate; earlier versions need OBS.
- Your voice isn’t recorded — check that the right microphone is selected and not turned off: in Game Bar, Win + Alt + M toggles it. In Windows 11, go to Settings → Privacy & security → Microphone and allow microphone access for apps, including desktop apps. On a Mac, turn the app on in the Microphone section.
- Game Bar doesn’t see your headset — press Win + G, open the Audio widget, and choose the input and output devices.
- Game Bar recorded once or twice and then stopped — close the game, end the bcastdvr.exe process in Task Manager if it’s still running, and start the game again.
- Black screen in OBS on a laptop — in the Display Capture properties, set Capture Method to Windows 10 (1903 and up), keep OBS on the main high-performance graphics card, and update OBS, Windows, and your graphics drivers. The yellow border around the screen with this method is visible only to you and doesn’t appear in the recording. To get drivers from the manufacturer’s website, find your exact laptop model.
- Black window instead of a movie or app — protected content may not get recorded: Microsoft warns that it can leave a capture blank, and Apple says some apps, such as Apple TV, may not let you record their windows. Some games block recording too.
- OBS on a Mac doesn’t see the screen or audio — check that OBS is turned on in System Settings → Privacy & Security → Screen & System Audio Recording, and in Microphone for your voice.
- A video editor won’t open an MKV file — convert it to MP4 with File → Remux Recordings in OBS.
Sources and methodology
Analysis of public sourcesChecked 7 October 2026
- Microsoft — Use Snipping Tool to capture screenshots support.microsoft.com
- Microsoft — Record your screen with Xbox Game Bar support.microsoft.com
- Apple — How to record the screen on Mac support.apple.com
- OBS — Quick Start Guide obsproject.com
- OBS — Standard Recording Output Guide obsproject.com
FAQ
How do I record my computer screen with audio for free?
In Windows 11, open Snipping Tool with Win + Shift + R and turn on computer audio and the microphone in the recording bar. In Windows 10 and 11, Xbox Game Bar with the All audio option works too; on a Mac with macOS 27 Golden Gate, use the Screenshot app with Include System Audio. The free OBS Studio works on any system.
Where do I find the recorded video?
Game Bar saves clips to Videos → Captures, a Mac saves to the desktop by default, and OBS saves to the folder in the Recording Path field, which File → Show Recordings opens. Chromebook recordings and copies of Clipchamp recordings go to the Downloads folder by default, and you save Snipping Tool recordings yourself to a folder you choose.
Can I record my screen in Windows 10 without extra software?
Yes, with Xbox Game Bar: open an app or game and press Win + Alt + R. Snipping Tool in Windows 10 has no video recording. Keep in mind that Windows 10 support ended on October 14, 2025, and some Game Bar features require Windows 10 22H2 or later.
How do I record my screen and webcam together?
In Clipchamp, choose screen and camera recording — you get two tracks, and the camera can go in a corner of the frame. In OBS, add a Video Capture Device above the screen capture and shrink its frame. On a Chromebook, turn on the front camera in the recording settings.
Do I need permission to record a call?
Tell the other participants and get their consent before you start recording. Requirements for recording conversations depend on the country and the platform’s rules, so for work meetings check them with the organizer.


Leave a Reply